
Create a Notebase
Make a notebase on readfrog.app and define the fields your saved lookups will land in.
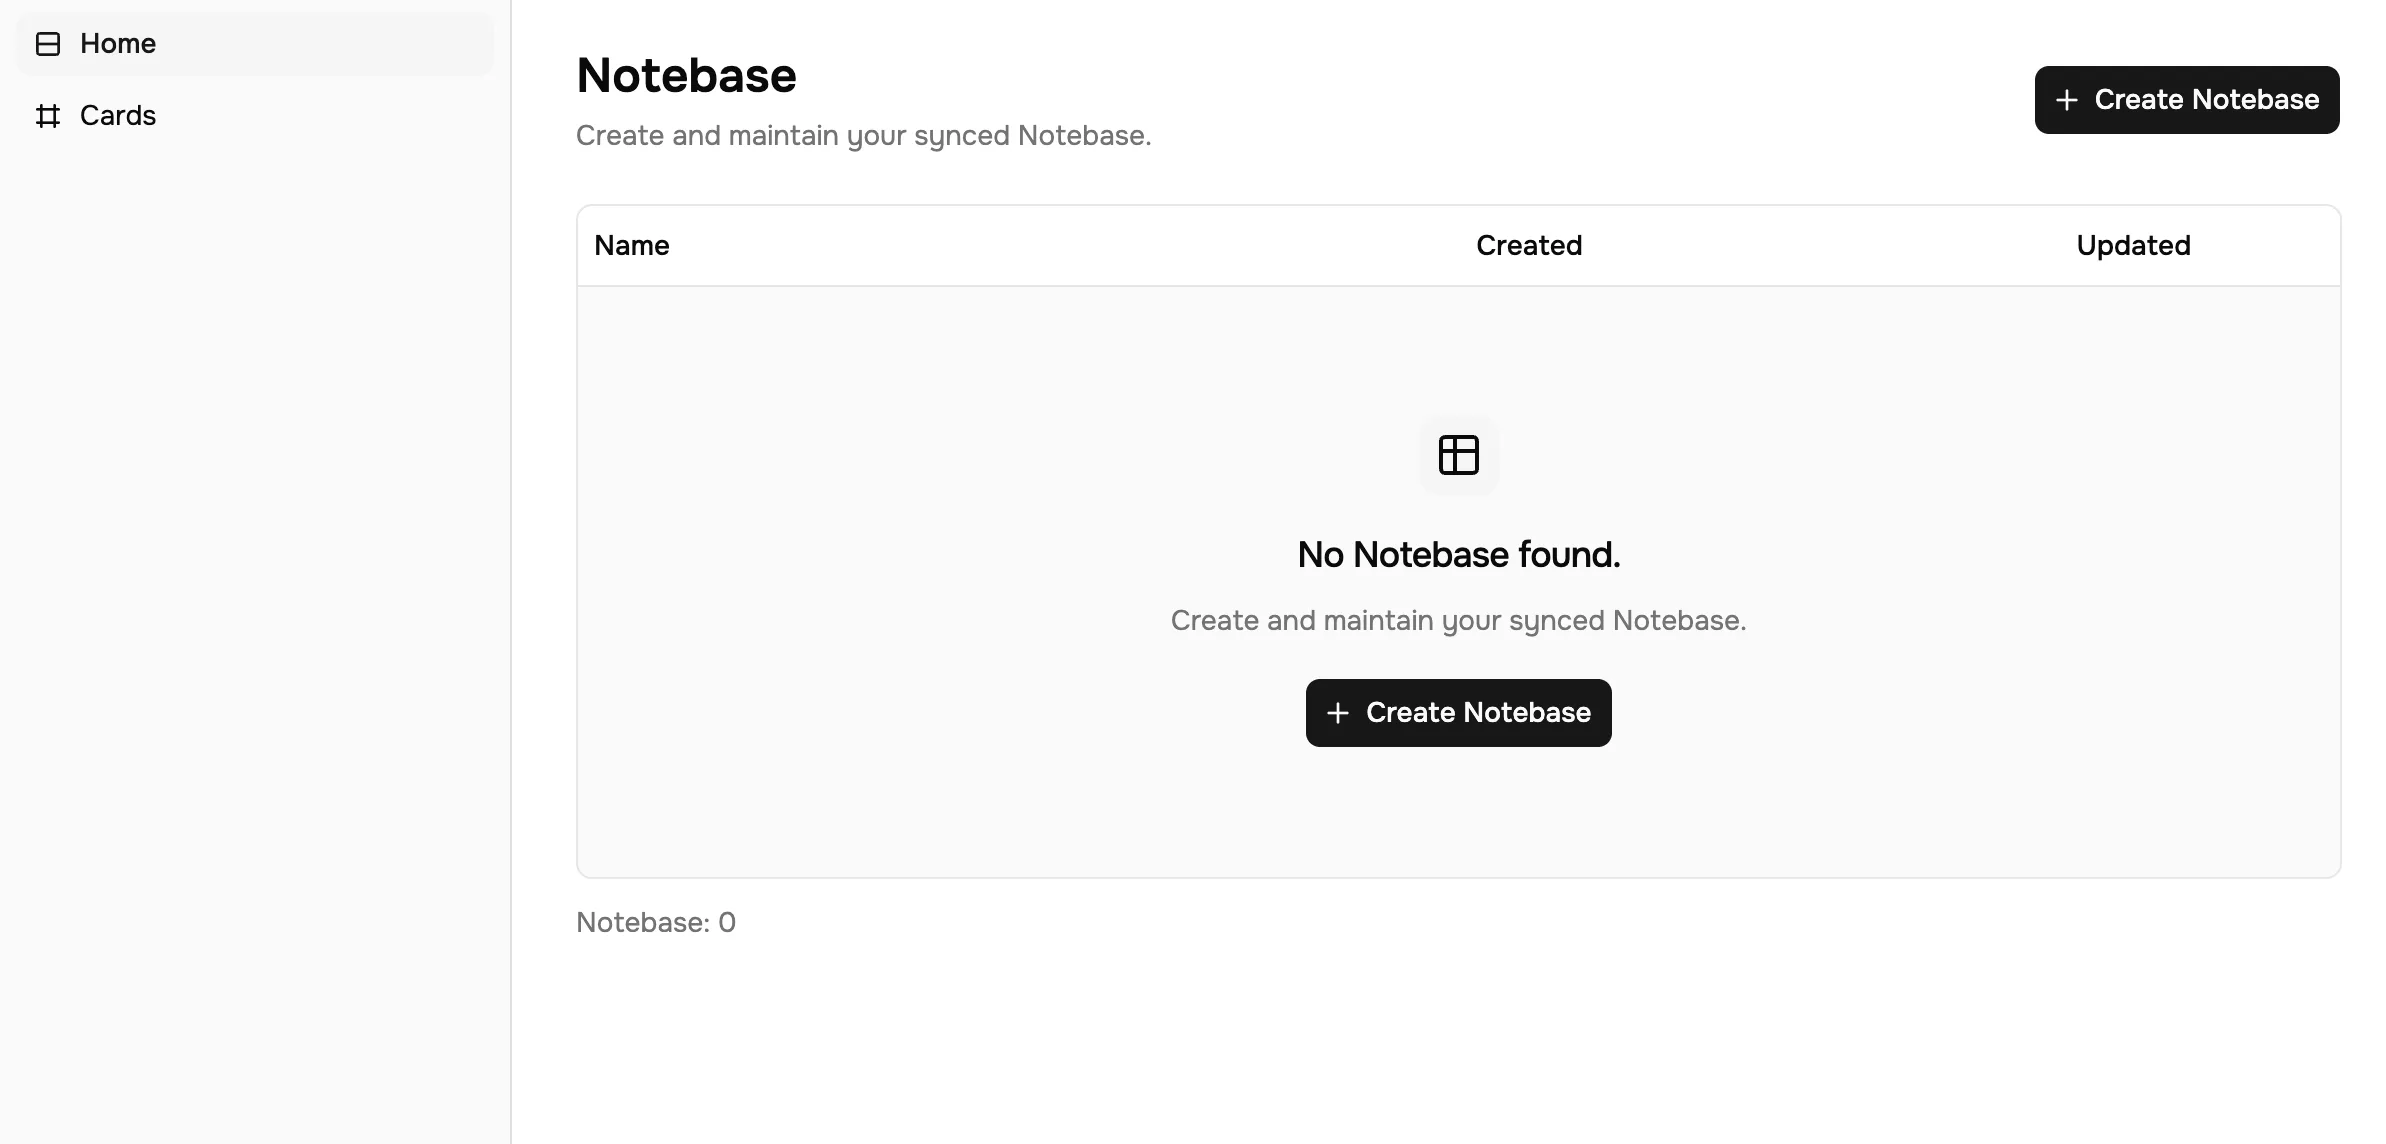
A notebase is created on the web app, at readfrog.app/home. You need to be logged in; the extension cannot create one on its own unless you let it — see the shortcut at the bottom of this page.
Create the notebase
Click Create Notebase, give it a name such as "Reading notes" or "Vocabulary", and confirm.
A fresh notebase is not empty: it starts with a single Text field called Text, which is its primary field. Rename it to whatever your first field should be — for a vocabulary list, Term.
Add the rest of the fields
Open the notebase and use Add column at the right edge of the header row. Type a name, then pick a type from the list underneath.
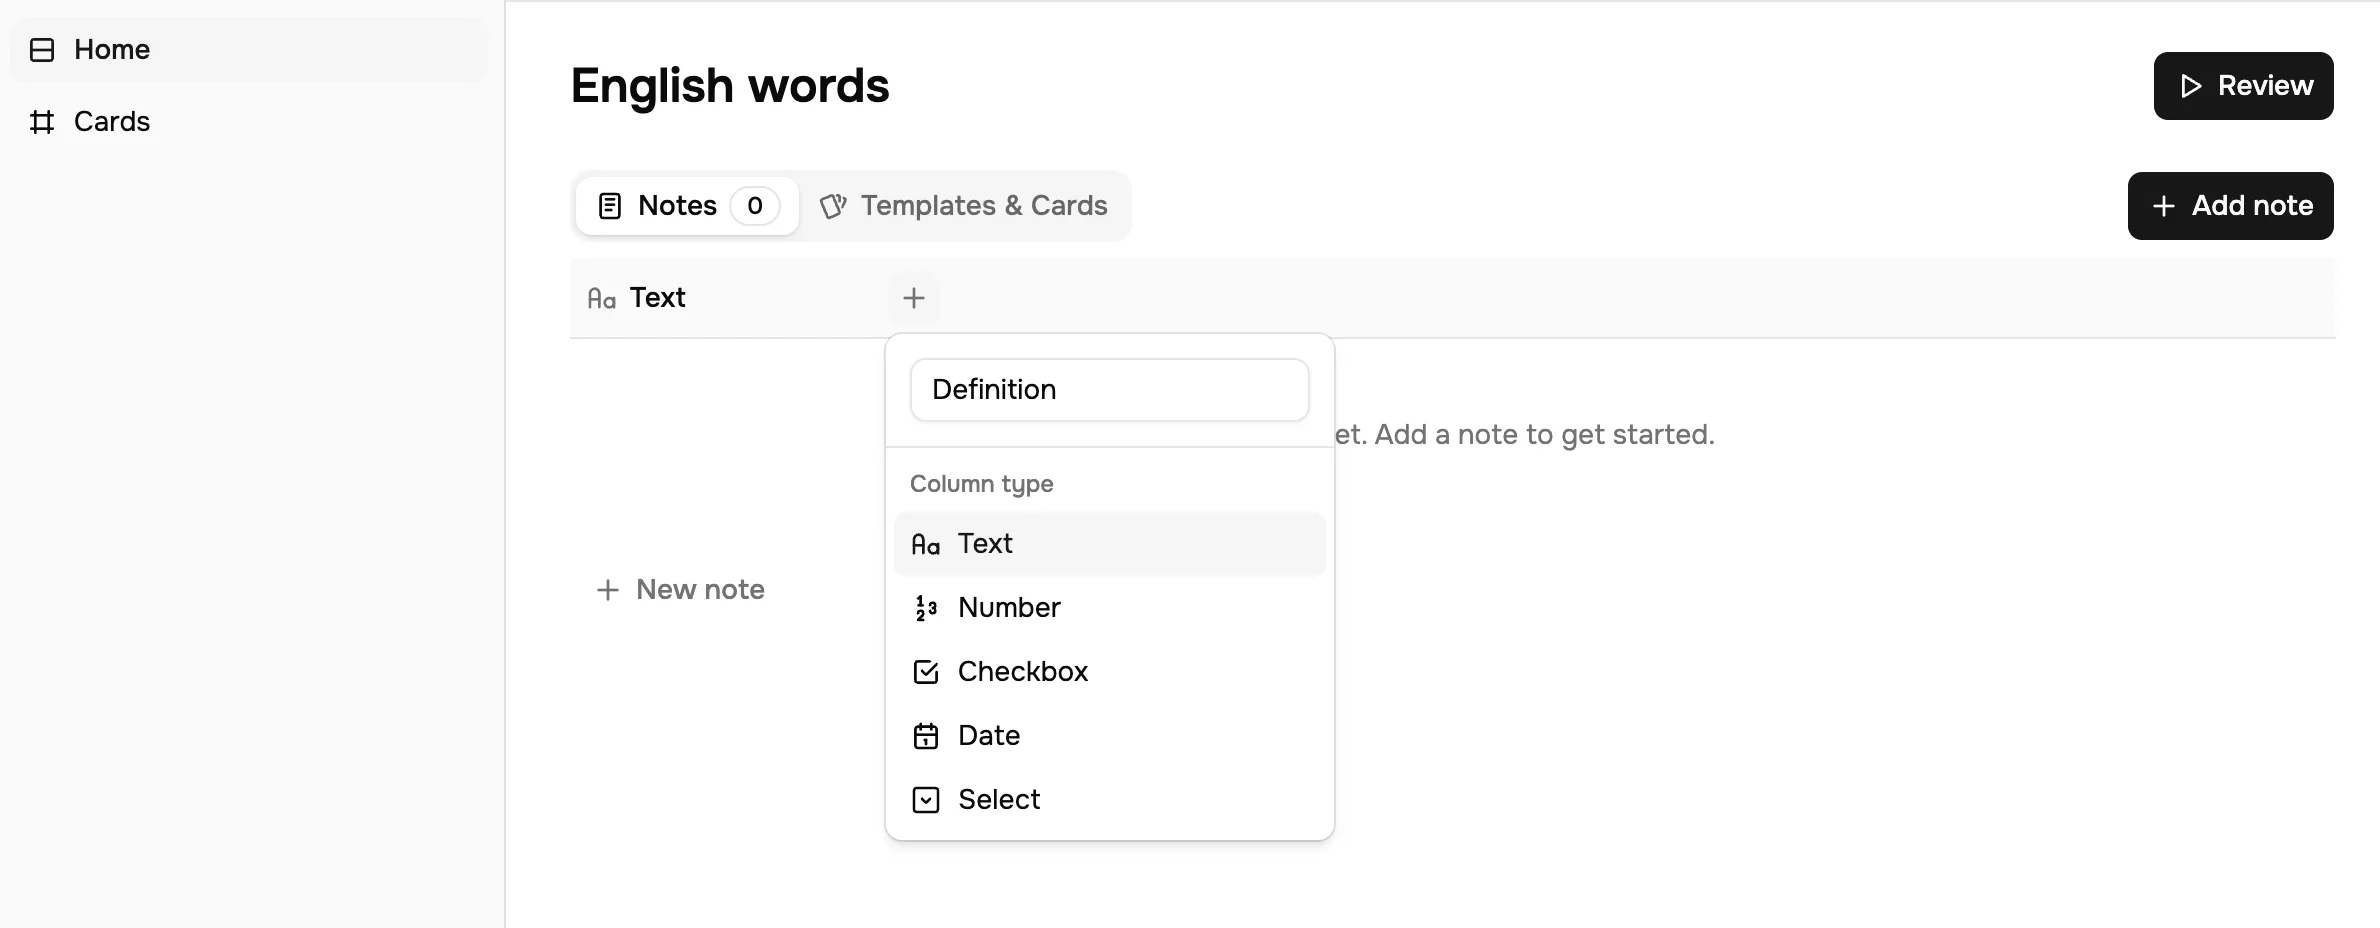
A vocabulary notebase usually wants something like:
| Field | Type |
|---|---|
| Term | Text |
| Definition | Text |
| Example sentence | Text |
| Paragraph translation | Text |
| Difficulty | Text |
Add one note by hand
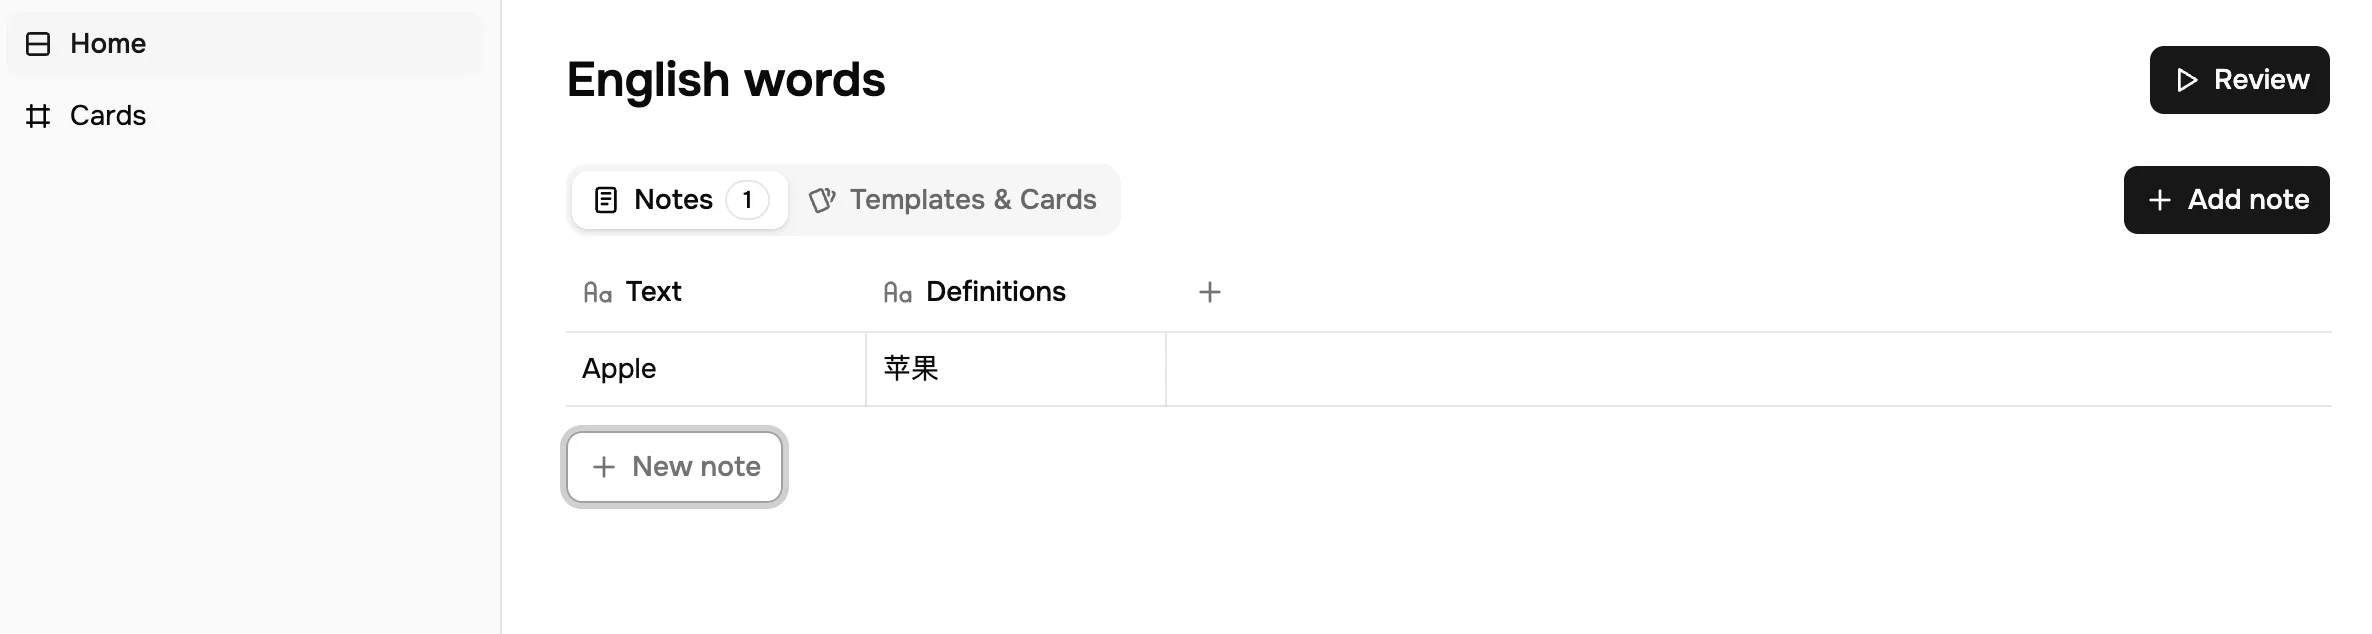
Click Add note and fill in a row. It is worth doing once before you wire up the extension: it confirms the fields behave the way you expected, and it gives the card template editor something real to preview against.
Choosing types
The type list is Text, Number, Checkbox, Date and Select. Two constraints shape how you should use it:
- A type cannot be changed after the field exists. You can rename a field freely, but retyping means creating a new field and deleting the old one, which discards that field's data. When in doubt, use
Text. - Only
TextandNumberfields can receive AI output. A Custom AI Action's output fields are text or numbers and nothing else, so aCheckbox,DateorSelectfield can never be filled by a save from the extension — only by you, in the table.
That second point is the one that catches people out. A CEFR difficulty like B2 looks like it belongs in a Select field, and it would be nicer to filter on, but the action produces it as text, so keep it as Text if you want it saved automatically.
Start smaller than feels right. Extra fields are cheap to add later and you can map them into the action at the same time; a field you never fill in is just another empty column on every card.
The shortcut: let the extension create it
If you have not created a notebase yet, you do not have to come here first. Run a Custom AI Action on a selection, click Save to Notebase, and the extension offers Create and save: it creates a notebase named after the action, with one field per output field of the action, and saves the current result as the first note.
That is usually the better starting point, because the fields and the mapping come out matched by construction. Come back to this page when you want to add fields the AI does not produce.
Where to go next
Wire an action up to the notebase in Save from the Extension, or go straight to Card Templates if you plan to fill the notebase by hand.